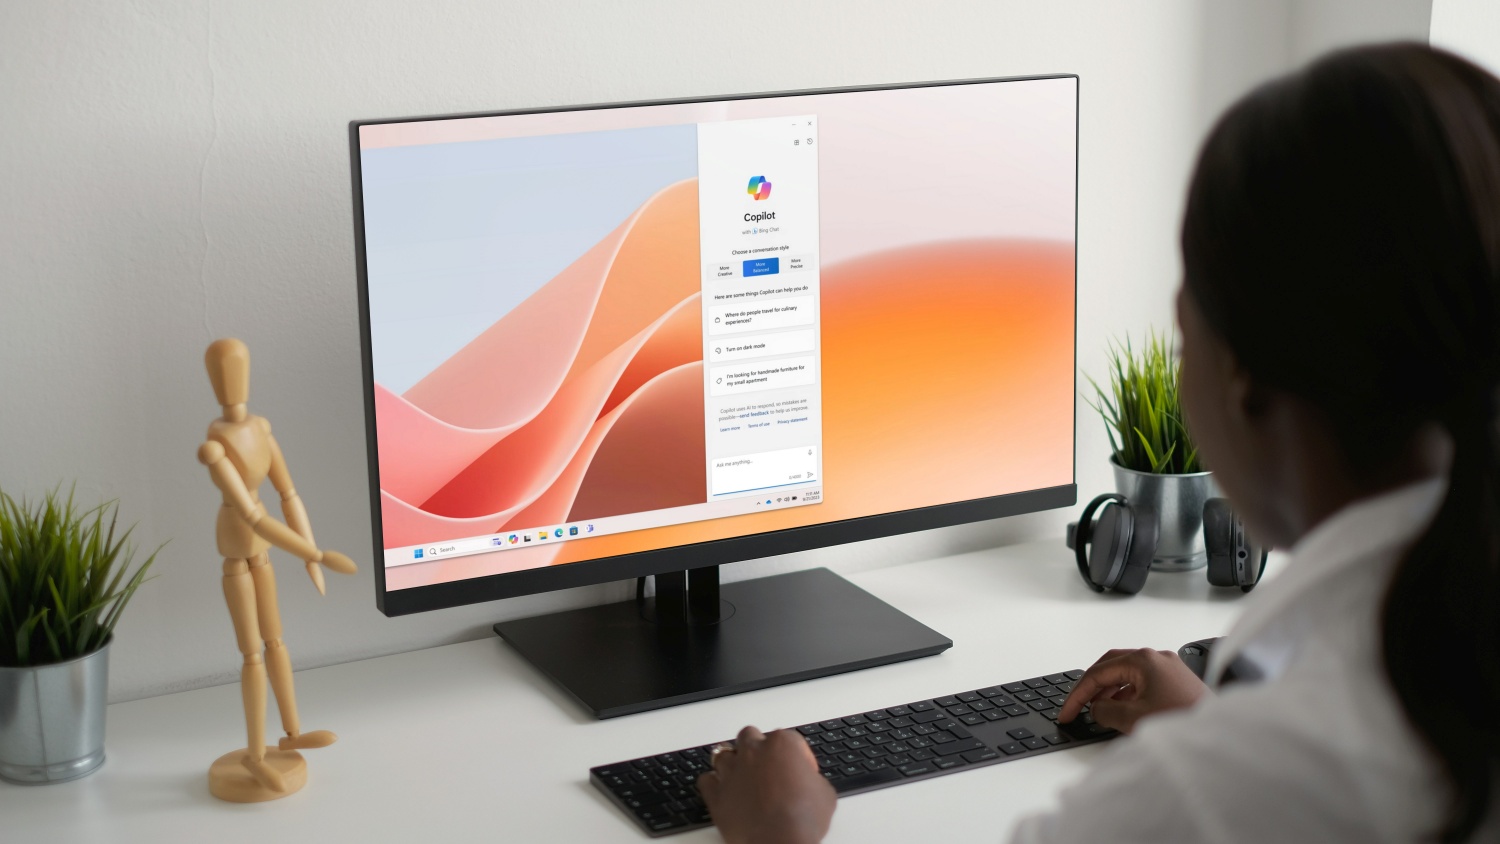
Ready to experience the latest and greatest Windows 11 has to offer? Get ready to install Windows 11 24H2! This exciting update brings fresh improvements, including a revamped Start menu that puts your favorite apps front and center. If you’re a multitasking master, you’ll love the enhanced ways to snap and organize windows on your screen.
But before diving in, let’s ensure your system is prepared. This guide will walk you step-by-step through the installation process. Whether upgrading directly through Windows Update or opting for a clean install with a bootable USB drive, we’ve got you covered. We’ll even tackle any hiccups you might encounter and guide you through setting up your freshly updated Windows 11.
So, are you ready to streamline your workflow and enjoy a smoother Windows experience? Let’s get started with installing Windows 11 24H2!
Content Table
What is New In Windows 11 24H2
Windows 11 24H2 brings several exciting updates to enhance user experience and productivity. This latest version introduces smoother multitasking, improved security features, and enhanced customization options. Here’s a glimpse of what’s new:
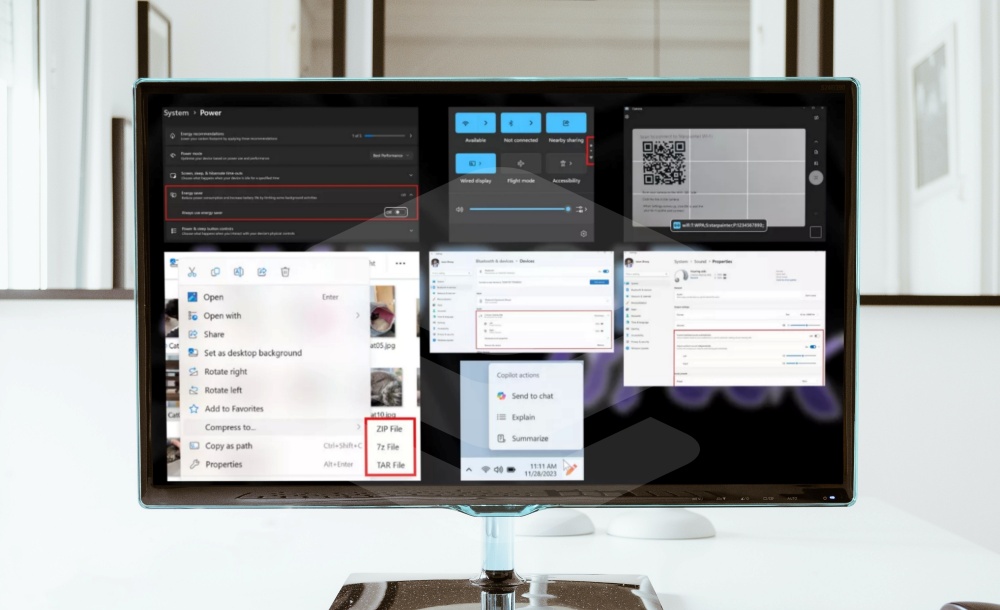
- Snap Layouts and Snap Groups: Easily organize and manage open windows with predefined layouts for efficient multitasking.
- This feature allows users to arrange windows on the screen more effectively, improving productivity.
- Redesigned Microsoft Store: Enjoy a refreshed interface with easier navigation and access to a wider range of apps.
- The new Microsoft Store offers a more intuitive browsing experience and expands app availability.
- Enhanced Virtual Desktops: Effortlessly switch between virtual desktops with new animations and customization options.
- Virtual desktops now offer smoother transitions and more personalization choices.
- Integrated Microsoft Teams: Stay connected with the seamless integration of Microsoft Teams directly into the taskbar.
- Access Teams instantly for quick communication and collaboration.
- Enhanced Gaming Features: Experience improved gaming performance with DirectX 12 Ultimate and Auto HDR support.
- Gamers can enjoy smoother graphics and better compatibility with a wider range of games.
These updates in Windows 11 24H2 aim to make everyday tasks easier and more enjoyable for users, whether working, gaming or staying connected with friends and family.
Prerequisites: What You’ll Need Before Installing Windows 11 24H2
Before starting the installation, let’s make sure your system is ready and you have the necessary tools:
- System Requirements: Windows 11 24H2 has specific hardware requirements. Here’s a breakdown for compatibility:
- Processor: 1 GHz or faster with 2 or more cores on a compatible 64-bit processor or System on a Chip (SoC)
- RAM: 4 gigabytes (GB) or greater
- Storage: 64 GB or greater available storage
- Graphics card: Compatible with DirectX 12 or later with WDDM 2.0 driver.
- TPM: Trusted Platform Module (TPM) version 2.0
- Display: High definition (720p) display that is greater than 9″ diagonally, 8 bits per colour channel
- Internet Connection: Required for updates and some features
- Microsoft Account: Required for some features
- You can use tools like the Windows PC Health Check app (https://aka.ms/GetPCHealthCheckApp) to verify your system’s compatibility.
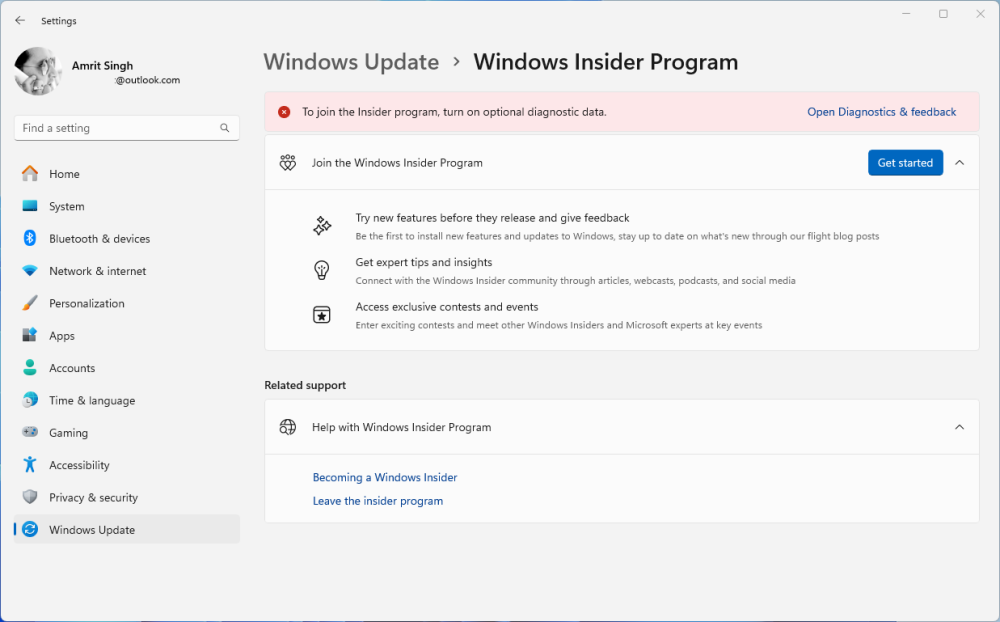
- Windows 11 24H2 ISO File: This is the core installation file. You can usually obtain it from the Windows Insider Program if you’re an Insider. Otherwise, visit the unofficial Windows 11 Files website.
- Bootable USB Drive: A USB drive (at least 8GB) will be necessary for a clean installation. Software like Rufus helps you create a bootable USB drive.
- Product Key (If Necessary): A product key might be required if you’re doing a clean install and don’t have a digital license linked to your Microsoft account.
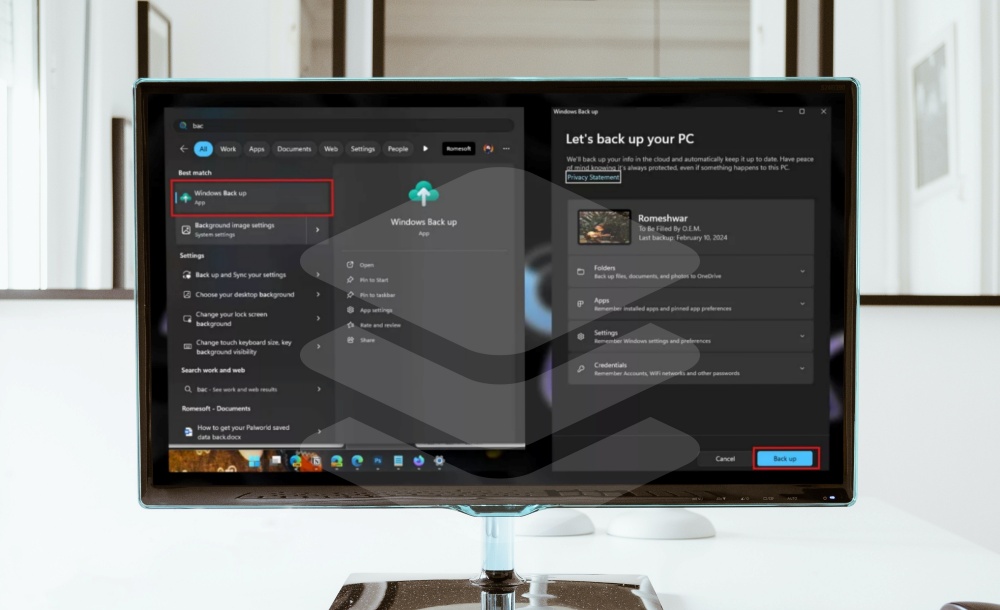
- Important Reminder: Back up your essential files and data before starting the installation! Unexpected issues can occur, and safeguarding your information is essential.
Additional Tips for a Smooth Windows 11 24H2 Installation
- Create a system restore point: This allows you to revert your system to a previous state if things go wrong during the update process.
- Turn off any antivirus/security software temporarily: Sometimes, these can interfere with installation. Re-enable them afterwards.
- Be patient: The installation process, especially the download and configuration phases, can take time. Avoid interrupting it.
Methods to Install Windows 11 24H2
There are two main ways to install Windows 11 24H2. Choose the method best suited for your needs:
Method 1: Installing Windows 11 24H2 Through Windows Update
This is the simpler method if you’re running a Windows-supported version and your system meets the requirements. Here’s how:
- Check for Updates: Go to Settings -> Windows Update -> Check for updates.
- Download and Install: If the Windows 11 24H2 update is available, you’ll see the option to download and install it. Follow the on-screen instructions.
- Restart: Your computer will likely restart several times during the update process.
Method 2: Clean Install of Windows 11 24H2 Using Bootable USB
A clean install is ideal if you want a fresh start or your system doesn’t currently run Windows. Here’s the process:
- Create Bootable USB: Use Rufus or similar software to format your USB drive and load the Windows 11 24H2 ISO file onto it.
- Boot from USB: Change your computer’s boot order in the BIOS settings to prioritize booting from the USB drive.
- Start Installation: The Windows 11 setup screen will appear. Follow the prompts, selecting your language, time, and keyboard settings.
- Select Drive: Choose the drive or partition where you want to install Windows 11 24H2. Make sure you format the partition if necessary.
- Follow the Wizard: The Windows installation wizard will guide you through user account creation, privacy settings, and other initial configurations.
Troubleshooting Common Errors During Windows 11 24H2 Installation
Installation processes sometimes go differently. Here are some common errors you might encounter and their potential solutions:
- “This PC can’t run Windows 11” indicates your hardware doesn’t meet the minimum system requirements. Double-check them using the PC Health Check app and consider upgrading components if necessary.
- “The product key didn’t work”: Ensure you use a valid Windows 11 product key. Doing a clean install with a previously used key might be linked to your Microsoft account, so try signing in during setup.
- “We can’t find a bootable device”: Double-check that your USB drive is correctly created, plugged in, and set as the primary boot device in your BIOS settings.
- “0x80070005 – Access is Denied”: This could be a permissions issue. Try temporarily turning off your antivirus software during the installation process.
- Other Error Codes: If you encounter specific error codes, search the Microsoft Support website or relevant online forums for detailed troubleshooting solutions.
Important: If troubleshooting doesn’t resolve the issue, don’t hesitate to seek help from the Microsoft community forums or technical support.
Post-Installation Best Practices
Congratulations on successfully installing Windows 11 24H2! Here are a few things to do right away to ensure a smooth experience:
- Driver Updates: Windows might automatically install many drivers, but checking for the latest versions is vital. Here’s how:
- Visit your computer manufacturer’s website for support and downloads.
- Use the built-in Device Manager to check individual hardware components and update drivers where needed.
- Setting Up Windows: Take some time to personalize your Windows experience:
- Account: Link your Microsoft Account for syncing settings and licenses.
- Privacy: Review and adjust privacy settings to your preferences.
- Personalization: Choose your desktop background, themes, and other visual preferences.
- Restoring Backed Up Data: It’s time to bring back all your important files. Follow the steps relevant to the method you used for backup (e.g., copying files from an external drive or restoring from a cloud service).
Conclusion
By following the steps in this guide, you should now be enjoying the latest features of Windows 11 24H2. Remember, if you have any further questions or need assistance, the Microsoft community and support resources are always available to help!
Frequently Asked Questions (FAQs)
Should I upgrade to Windows 11 24H2?
Consider the new features and improvements offered and your system’s compatibility. It can be worthwhile if the upgrade that will help you with your needs and hardware.
Can I install Windows 11 24H2 on an older, unsupported PC?
While it might be technically possible with workarounds, it’s not recommended. Unsupported devices might not have compatible drivers or get security updates, leading to instability and potential security risks. You may consider installing Windows 7.
Will a clean install delete all my files?
Yes, a clean install will wipe the drive you select. That’s why backing up your important data earlier is essential.
How long does the Windows 11 24H2 installation take?
Installation time varies depending on your hardware and internet connection. Consider anywhere from 30 minutes to several hours for the process.